Introduction
Arduino Uno is a popular microcontroller board used widely in electronics projects and prototyping. Known for its simplicity and ease of use, the Arduino Uno is an ideal starting point for beginners and a powerful tool for experts. In this comprehensive guide, we will cover the features of Arduino Uno, available versions, functionalities, and how to program it. We’ll also delve into various projects that can be accomplished using the Arduino Uno, its compatibility with different shields, and tips for optimizing your projects.
What is Arduino Uno?
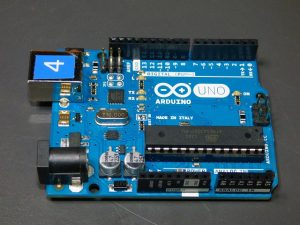
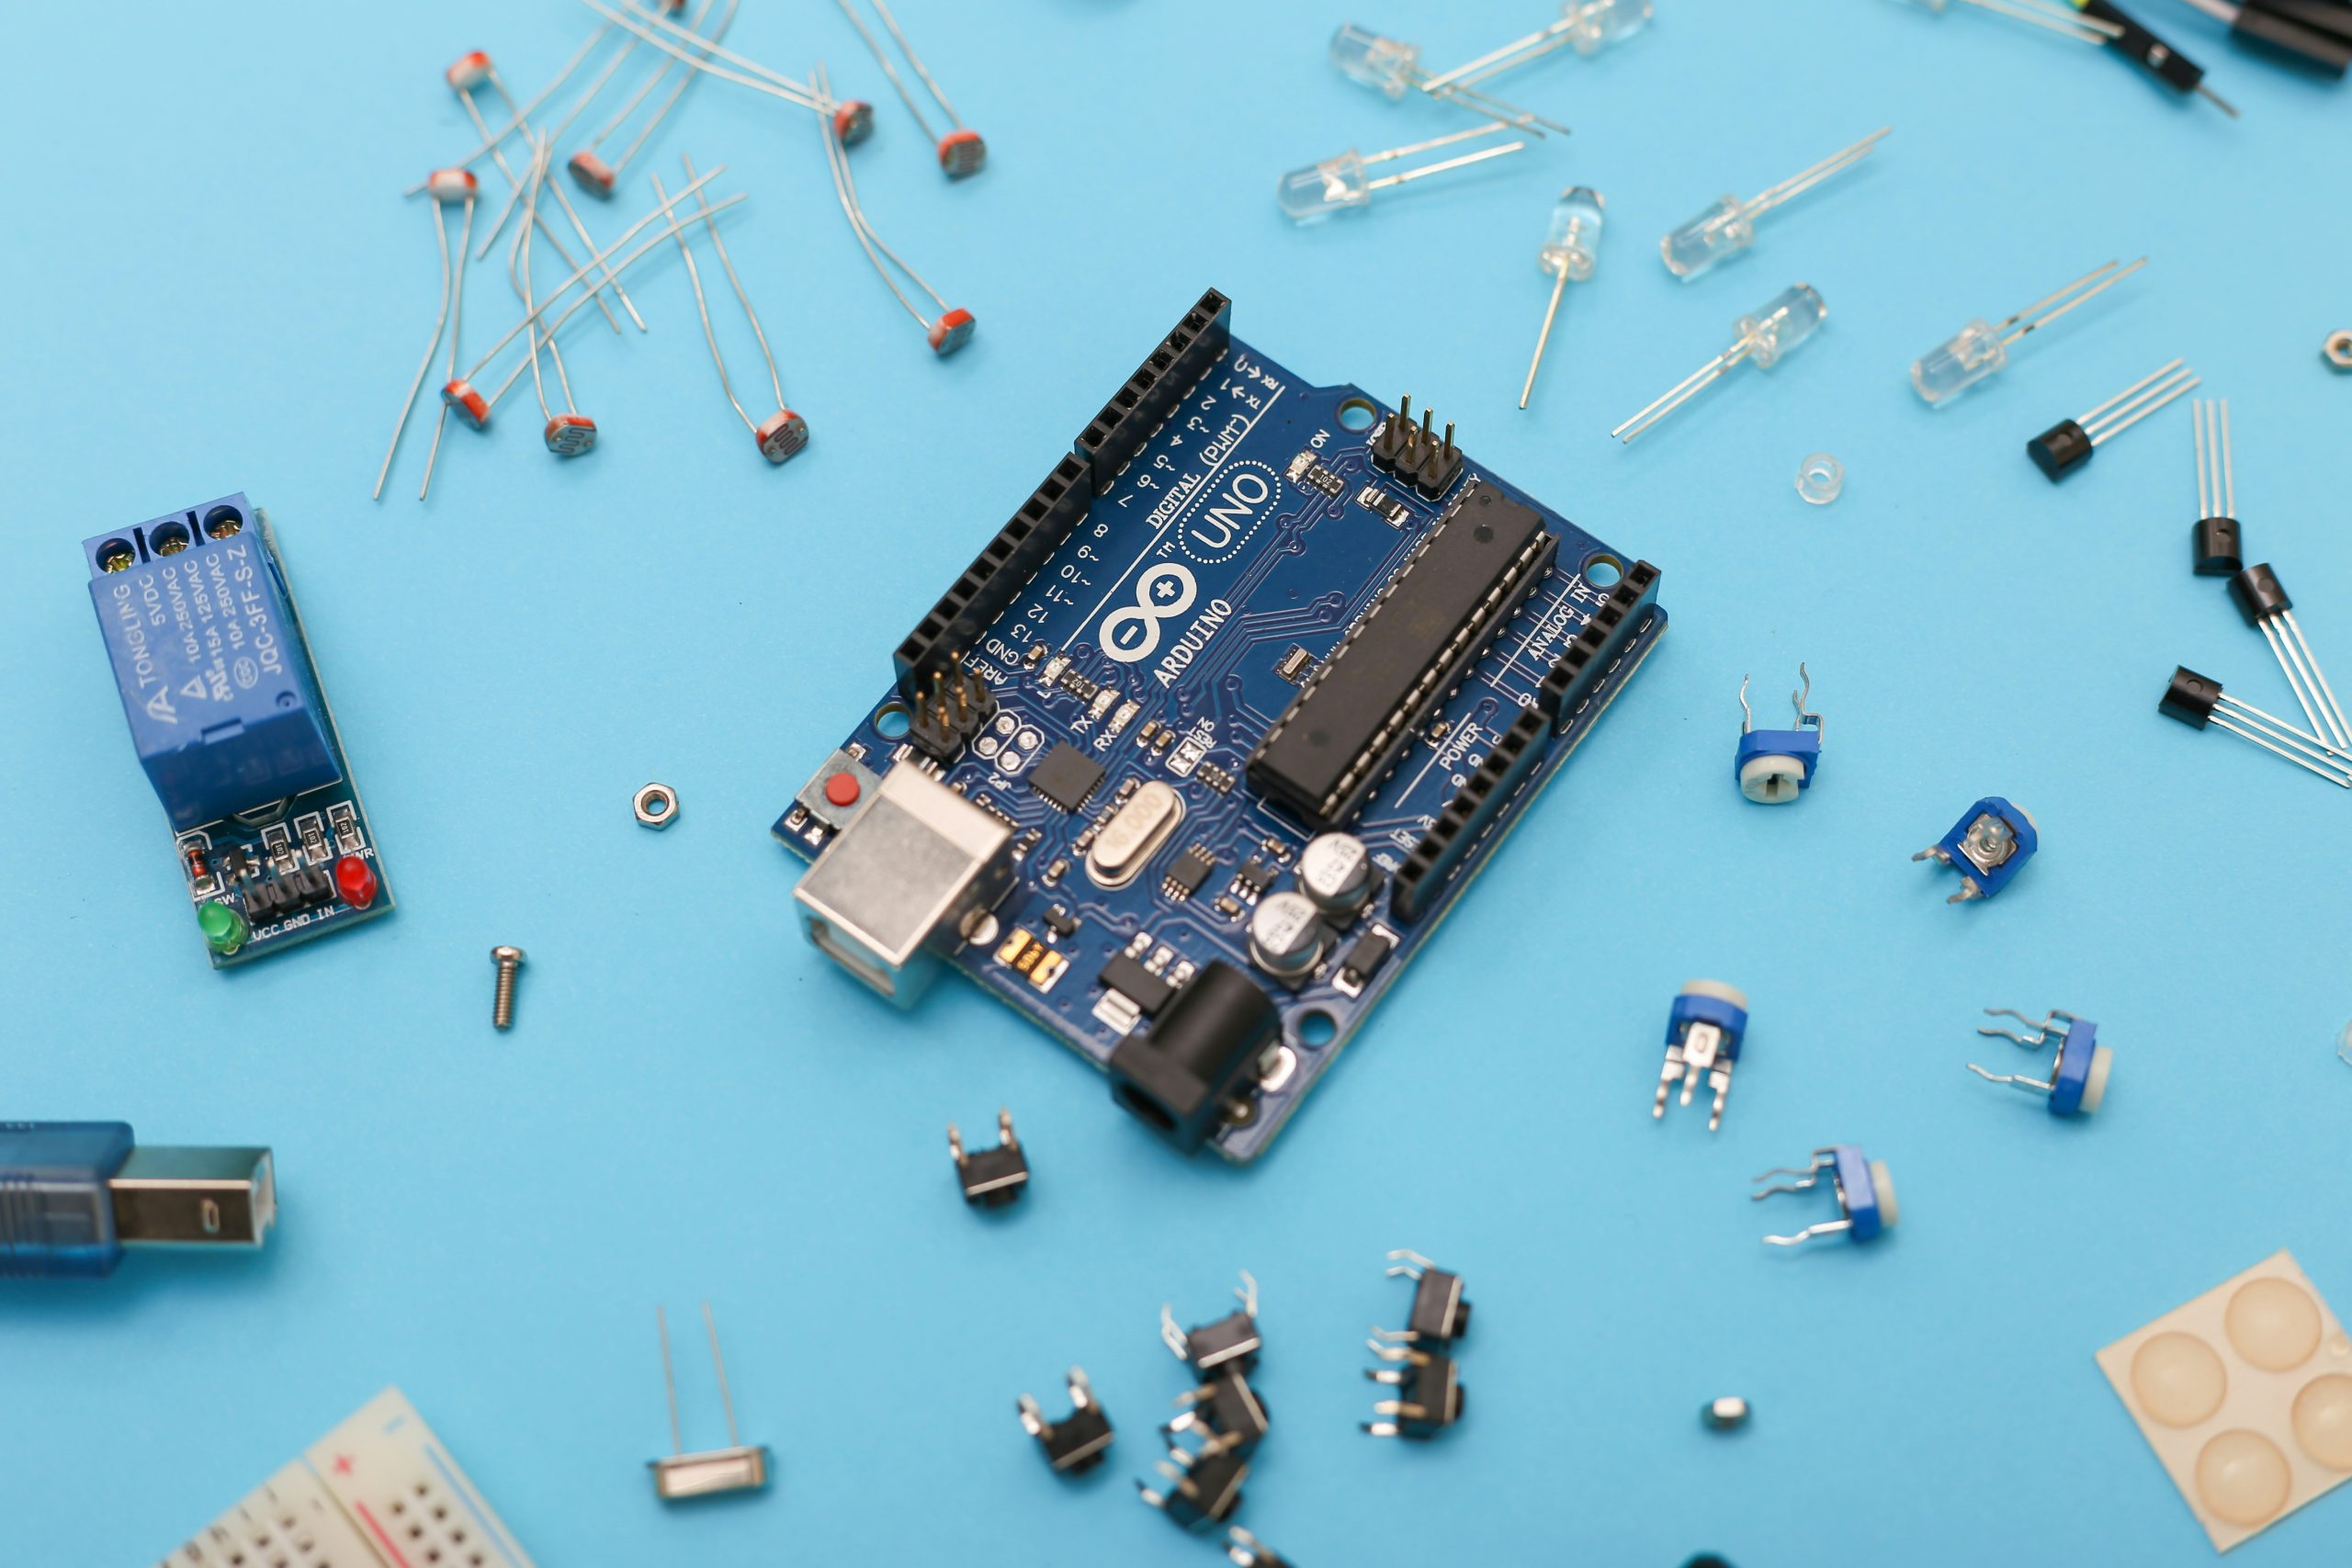
The Arduino Uno is an open-source microcontroller board based on the ATmega328P microcontroller. It was developed by Arduino.cc and has become one of the most widely used microcontroller boards in the world. The board is equipped with digital and analog input/output pins that can interface with various sensors, actuators, and other electronic components. It also features a USB connection for programming and power supply, a power jack, an ICSP header, and a reset button.
Features of Arduino Uno
The Arduino Uno is built around the ATmega328P microcontroller and comes with several features that make it versatile for various projects:
- Microcontroller: ATmega328P
- Operating Voltage: 5V
- Input Voltage (recommended): 7-12V
- Input Voltage (limits): 6-20V
- Digital I/O Pins: 14 (of which 6 provide PWM output)
- Analog Input Pins: 6
- DC Current per I/O Pin: 20 mA
- DC Current for 3.3V Pin: 50 mA
- Flash Memory: 32 KB (ATmega328P) of which 0.5 KB used by bootloader
- SRAM: 2 KB (ATmega328P)
- EEPROM: 1 KB (ATmega328P)
- Clock Speed: 16 MHz
- LED_BUILTIN: 13
- Length: 68.6 mm
- Width: 53.4 mm
- Weight: 25 g
Versions of Arduino Uno
There are several versions of Arduino Uno, each offering slight improvements over the previous models:
- Arduino Uno R1: The first version of Arduino Uno with the basic features. It introduced the ATmega328P microcontroller and provided a simple yet powerful platform for learning and development.
- Arduino Uno R2: Added a resistor to the USB-to-Serial converter line for better stability. It also featured a more robust USB connection and some minor improvements in the design.
- Arduino Uno R3: The most recent and widely used version, which includes additional pins for I2C and the IOREF pin for better compatibility with future shields. The R3 version also features a stronger reset circuit and improved USB interface, making it more reliable for a wider range of projects.
Functions of Arduino Uno

The Arduino Uno can be used for a wide range of functions, including:
- Reading digital and analog inputs: The Arduino Uno can read digital signals (high or low) and analog signals (0-1023) from various sensors and inputs.
- Controlling digital and analog outputs: It can control digital outputs (high or low) and analog outputs (using PWM) to drive LEDs, motors, and other actuators.
- Serial communication: The board can communicate with other devices via serial communication protocols like UART, I2C, and SPI.
- Interfacing with sensors and actuators: The Arduino Uno can interface with a wide variety of sensors (temperature, humidity, light, etc.) and actuators (motors, servos, relays, etc.) to create interactive projects.
- Running custom code to perform various tasks: Users can write custom code to perform specific tasks, such as data logging, automation, and more.
Programming the Arduino Uno
Programming the Arduino Uno is straightforward, thanks to the Arduino Integrated Development Environment (IDE). The Arduino IDE provides a simple and user-friendly interface for writing, compiling, and uploading code to the board. Here’s a step-by-step guide to programming the Arduino Uno:
- Download and install the Arduino IDE from the official Arduino website.
- Connect your Arduino Uno to your computer using a USB cable.
- Open the Arduino IDE and select your board under
Tools > Board > Arduino Uno. - Select the correct port under
Tools > Port. - Write or open a sketch (Arduino program) and click the upload button to transfer the code to the board.
Once the code is uploaded, the Arduino Uno will execute the instructions and interact with the connected components accordingly.
Example Code
Here is an example code that blinks the onboard LED of the Arduino Uno:
void setup() {
  // Initialize digital pin LED_BUILTIN as an output.
  pinMode(LED_BUILTIN, OUTPUT);
}

void loop() {
  digitalWrite(LED_BUILTIN, HIGH);   // Turn the LED on (HIGH is the voltage level)
  delay(1000);                       // Wait for a second
  digitalWrite(LED_BUILTIN, LOW);    // Turn the LED off by making the voltage LOW
  delay(1000);                       // Wait for a second
}
This code sets up the onboard LED (connected to pin 13) as an output and alternates between turning it on and off with a one-second delay in between.
Advanced Features and Tips
The Arduino Uno offers several advanced features that can be utilized to enhance your projects. Here are some tips for making the most out of your Arduino Uno:
- Using Interrupts: Interrupts allow the Arduino to respond to external events immediately, rather than waiting for the main loop to process them. This is useful for real-time applications like motor control or sensor monitoring.
- Power Management: The Arduino Uno can be powered in various ways, including USB, external power jack, or battery. Understanding power requirements and management is crucial for portable or low-power projects.
- Libraries: The Arduino IDE supports a wide range of libraries that simplify the use of sensors, actuators, and communication modules. Explore the Arduino Library Manager to find libraries that can help with your specific project needs.
- Debugging: The Arduino IDE includes a Serial Monitor tool that allows you to print debug messages and monitor serial communication. This is invaluable for troubleshooting and optimizing your code.
- Shield Compatibility: Arduino shields are add-on boards that expand the functionality of the Arduino Uno. From motor drivers to WiFi modules, there’s a shield for almost every application. Ensure compatibility by checking the shield’s documentation and pin layout.
Popular Projects with Arduino Uno
The Arduino Uno is at the heart of countless innovative projects. Here are a
few popular project ideas to inspire your creativity:
- Home Automation: Create a smart home system that controls lights, appliances, and security devices using sensors and relays.
- Robotics: Build a robot that can navigate, avoid obstacles, or follow lines using motor drivers and sensors.
- Weather Station: Design a weather station that measures temperature, humidity, and atmospheric pressure and displays the data on an LCD screen.
- Data Logger: Develop a data logger that records environmental data over time and stores it on an SD card.
- Wearables: Create wearable devices like fitness trackers or smart clothing using small sensors and modules.
Conclusion
Arduino Uno is a powerful and versatile microcontroller board suitable for a wide range of projects. Its ease of use, extensive community support, and variety of available shields and modules make it a go-to choice for both beginners and experienced makers. Understanding its features, versions, and how to program it is essential for anyone looking to dive into the world of electronics and embedded systems.