Introduction
This guide demonstrates how to configure and control a servo motor using an Arduino. Servo motors are widely used in robotics and automation for precise control of angular position. By following the instructions below, you’ll learn how to connect and program a servo motor with an Arduino Uno.
Materials Needed

| Arduino Uno Buy at Amazon |

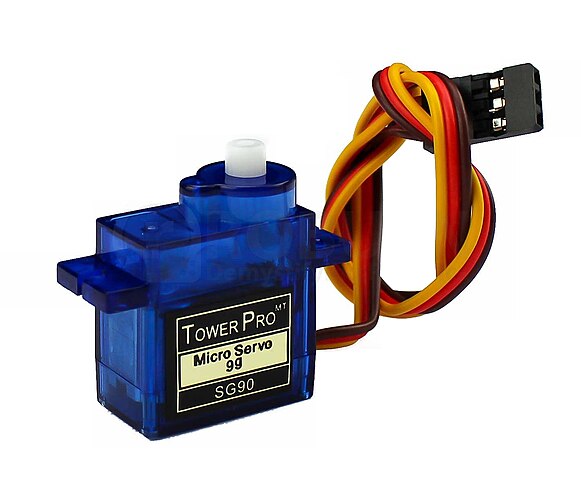
| SG90 Micro Servo Motor Buy at Amazon |

| Breadboard Buy at Amazon |

| Jumper Wires Buy at Amazon |
Instructions
- Connect the VCC of the servo motor to the 5V pin of the Arduino.
- Connect the GND of the servo motor to the ground pin of the Arduino.
- Connect the signal pin of the servo motor to digital pin 9 of the Arduino.
- Upload the provided code to the Arduino using the Arduino IDE.
#include <Servo.h>
Servo myservo;
void setup() {
  myservo.attach(9);
}
void loop() {
  myservo.write(0);
  delay(1000);
  myservo.write(90);
  delay(1000);
  myservo.write(180);
  delay(1000);
}
Explanation
In this guide, we explore how to configure motor servo pins for Arduino. A servo motor requires three connections: power, ground, and a control signal. The control signal is sent from the Arduino to the servo motor’s signal pin, typically using PWM (Pulse Width Modulation).
Using the Servo library simplifies the control process. By attaching the servo motor to a specific pin using the myservo.attach(9) function, the library handles the PWM signals. The myservo.write() function then sets the servo motor to the desired angle.
Conclusion
Understanding how to configure motor servo pins on an Arduino is crucial for any robotics or automation project. This guide provides a clear and concise method for setting up and controlling a servo motor, which can be expanded for more complex applications. Whether you’re building a robot or an automated system, mastering servo motor control is an essential skill.
